


-
Initial Setup: Once you have set up your server with your chosen OS image, you should be ready to log in.
-
Power Check: Ensure that the server is switched on.
-
Username Details: Your username is provided in your welcome email. It is derived from the first 8 characters of your server's hostname.
-
Password Information: The password is the one you created during the signup process.
-
Example for Understanding: If your hostname is "host.mycoolapp.com", your username will be "hostmyco". The username is generated using the first 8 characters of your domain name, omitting the '.' .
-
Security Protocol: Logging in as 'root' is disabled for enhanced security. Your primary login is through your username, which has the capability to execute commands as the root user using 'sudo'. This measure helps to thwart automated brute force attacks.
-
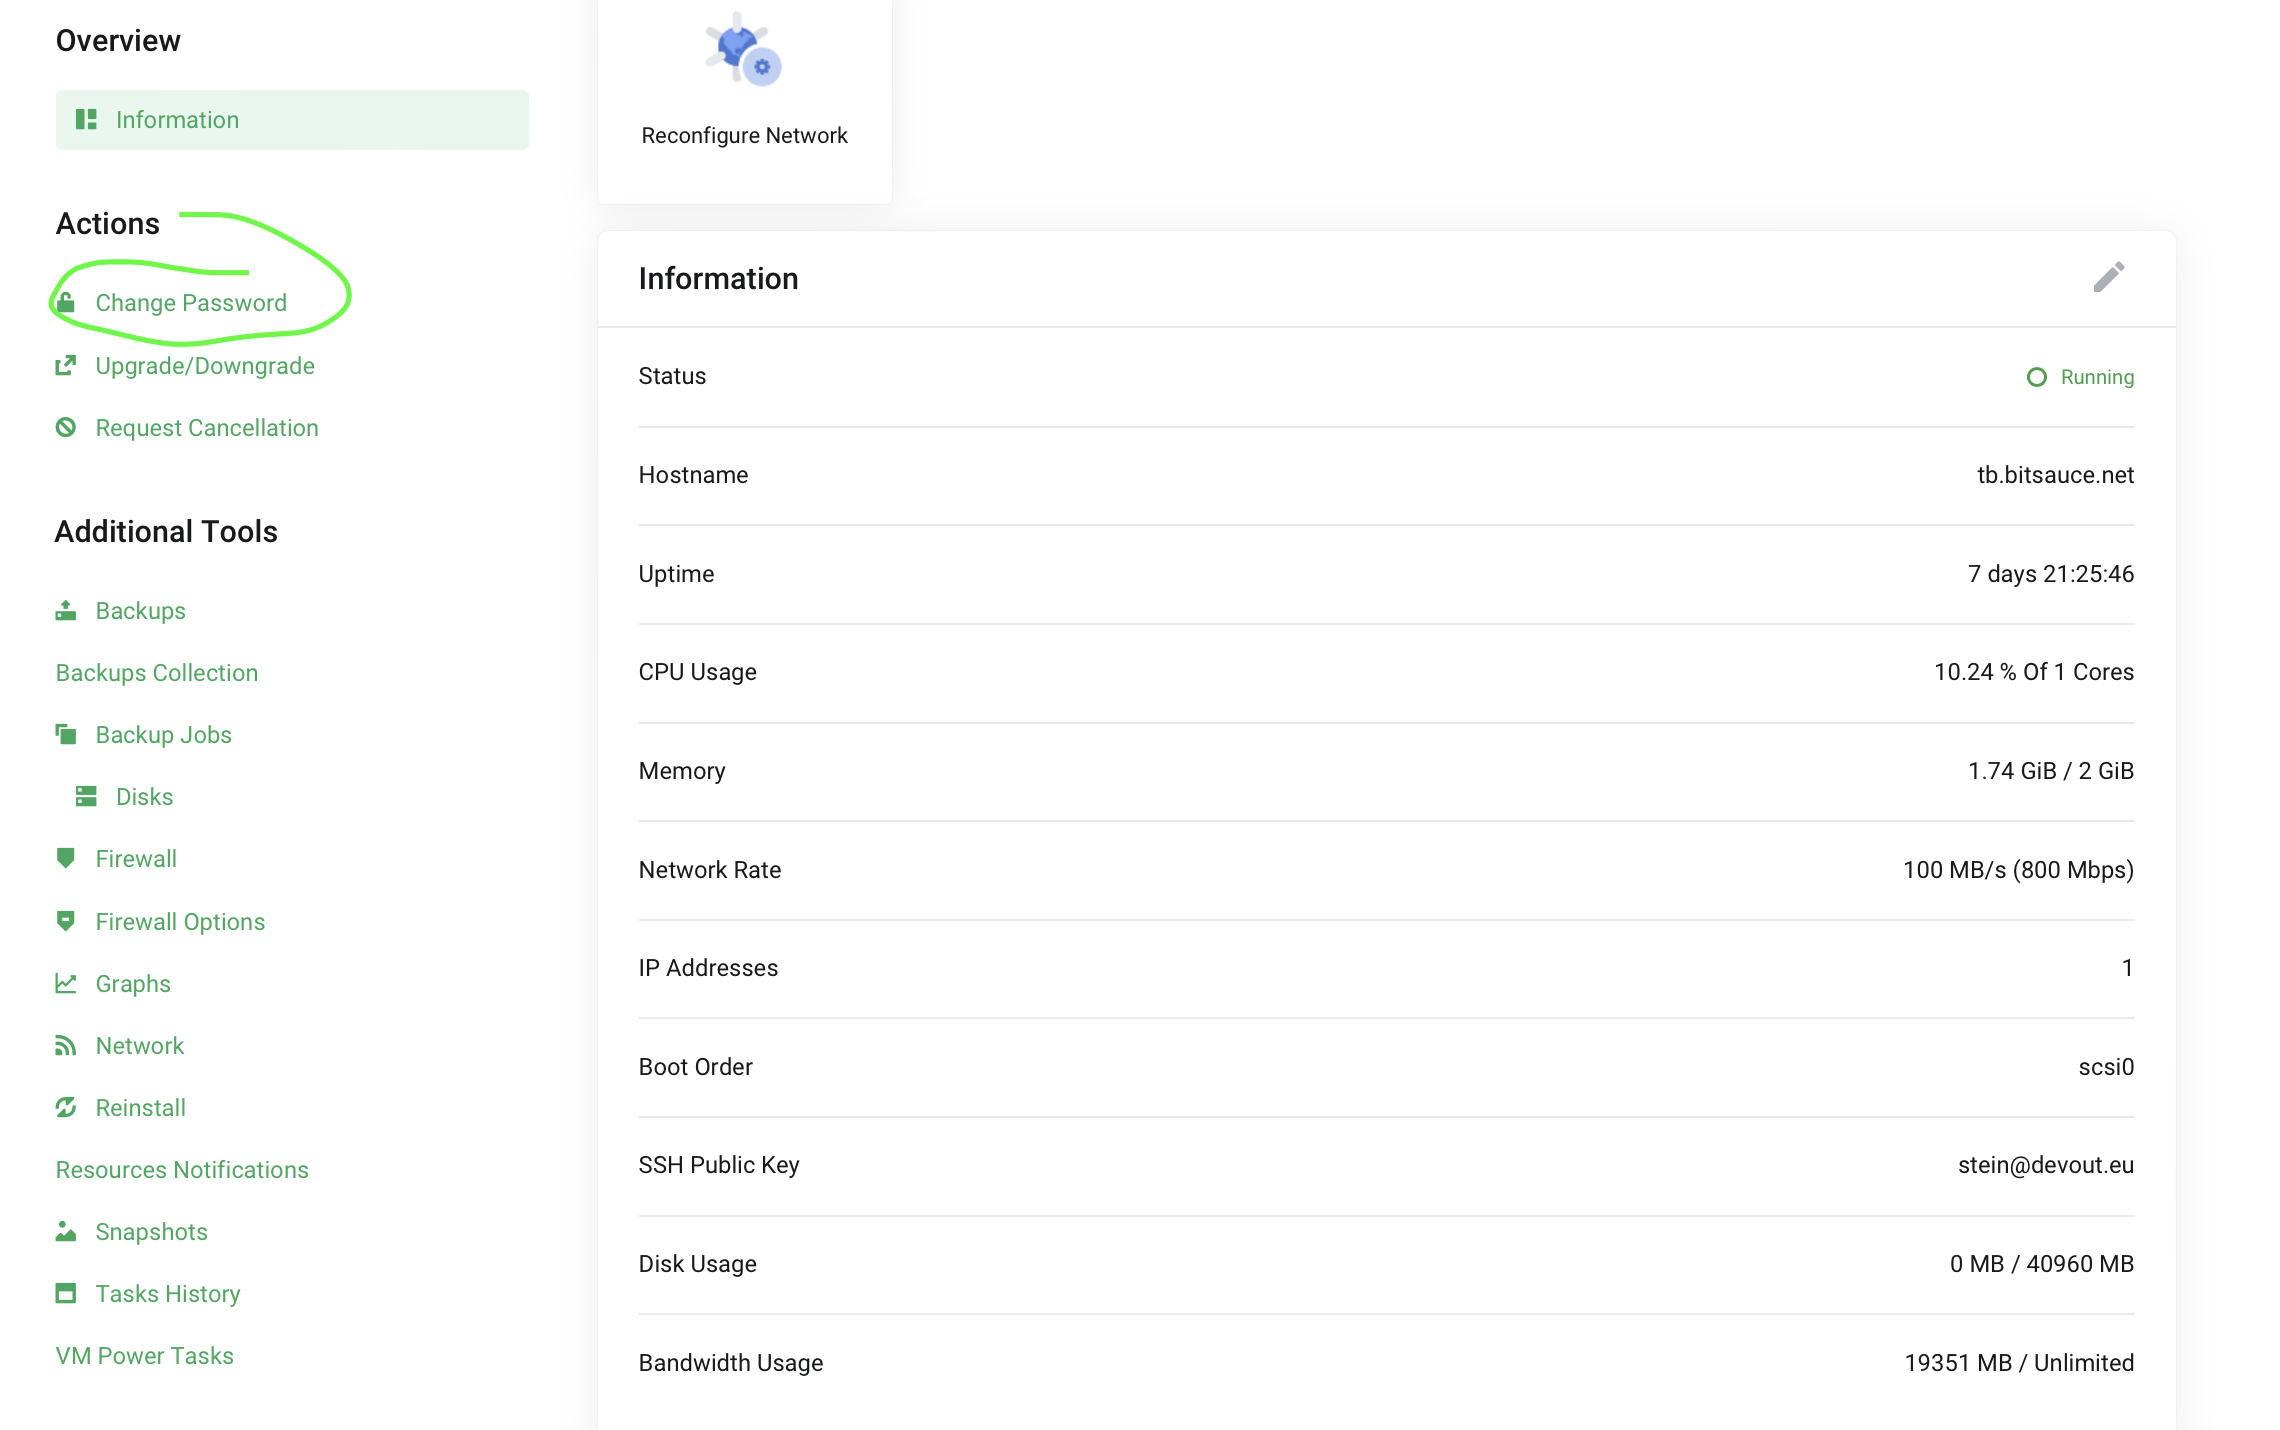
Password Recovery: If you forget your password, you can reset it using this link in the control panel
SSH Key login
-
Accessing the Information Panel: Click on the 'edit' icon next to the 'Information' section title. This will bring up the panel where you can manage your ssh key.
-
Entering Your Public Key: In the information panel, locate the field to enter your public SSH key. Paste your public key here.
-
Saving and Rebooting: After entering your public key, save the changes. This will initiate a reboot of the server to integrate your SSH key.
-
Password-less Login: Once the server has rebooted with your SSH key configured, you can log in without needing a password.Note: if the server hasn't come online after 15 minutes, you can manually klik the start button.

